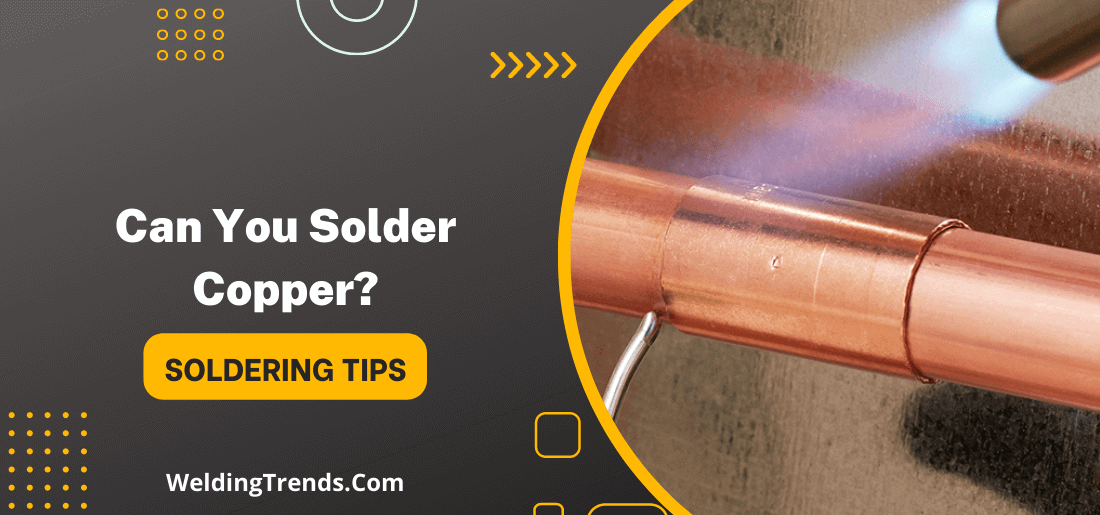
Have you ever wanted to know how to solder copper? It’s a really useful skill to have, especially if you’re into DIY projects. Soldering is the process of joining two metals together by melting a small amount of metal (solder) and flowing it between the two surfaces.
One of the most popular methods is using a soldering iron. To solder copper properly, you will need flux, a soldering iron, solder and copper wire.
In this blog post, we’ll show you how to solder copper wire, so you can join pieces of metal together like a pro! Let’s get started!
Can you solder copper?
Yes, you can solder copper. Soldering is a great way to join copper pipes and fittings together. When soldering copper, you’ll want to use a product called ” flux.” Flux helps the solder to adhere to the copper and creates a watertight seal. You’ll also need a soldering iron and some lead-free solder.
To get started, clean the area that you’ll be soldering with a wire brush. This will help the solder to adhere to the copper. Then, apply the flux to the area that you’ll be soldering.
Place the solder on the joint and then heat it with the soldering iron until it melts. Once the solder has melted, remove the iron and allow the joint to cool. That’s all there is to it!
Can you solder copper to brass?
Yes, you can solder copper to brass. The key is to use the right type of solder and follow some simple steps.
When soldering copper to brass, it’s important to use lead-free solder. This type of solder won’t add any lead to the joints, which is important for safety. There are also lead-free solders that are specially formulated for use with copper and brass.
To get started, clean the surfaces of the copper and brass that you’ll be joining. This will help the solder to adhere better.
Next, apply a small amount of solder to the tip of the soldering iron. Then touch the solder to the joint between the copper and brass.
Heat the joint until the solder melts and flows into it. You’ll know it’s ready when the solder becomes shiny. Remove the soldering iron and allow the joint to cool.
If done properly, a soldered joint between copper and brass can be just as strong as the metals themselves. Just be sure to use the right type of solder and follow some simple steps.
How to solder copper tubing?
- Cut the copper tubing to the desired length using a tubing cutter.
- Clean the cutting area of the copper tubing with a wire brush to remove any burrs.
- Apply flux to the area that will be soldered.
- Heat the area to be soldered with a propane torch until it is hot enough to melt the solder.
- Touch the solder to the area and allow it to flow into the joint.
- Remove the flame and allow the joint to cool.
- Inspect the joint to make sure that there are no gaps.
- Apply a small amount of pressure to the joint to check the strength of the solder connection.
By following these steps, you can successfully solder copper tubing.
Tips for soldering copper tubing
If you’re working with copper tubing, there are a few things to keep in mind when soldering:
- Make sure the tubing is clean before soldering. Any dirt or debris on the surface of the tubing will prevent the solder from adhering properly.
- Use a flux-cored solder for copper. This type of solder contains a built-in flux that will help prevent the formation of oxides on the surface of the tubing.
- Use a controlled heat source. A soldering iron is ideal for this purpose. Applying too much heat to the tubing can damage it, so be sure to use a moderate temperature.
- Apply the solder to the joint between the tubing and fitting. The solder should flow easily into the joint and create a strong bond.
- Allow the joint to cool completely before use. This will ensure that the solder has been set properly and won’t come loose over time.
Following these tips will help you to create a strong, durable connection when soldering copper tubing.
Troubleshooting Common Soldering Problems
Troubleshooting some of the common soldering problems are:
1) Cold joint
One of the most common soldering problems is a cold joint. This occurs when the solder doesn’t flow evenly and creates a weak connection. To fix this, you need to reheat the joint until the solder flows evenly.
2) Bridged connection
Another common problem is a bridged connection. This happens when two wires are connected by a piece of solder that’s too thick. To fix this, you need to carefully remove the excess solder with a soldering iron.
3) Solder flow evenly
If you’re having trouble getting the solder to flow evenly, likely, your iron is not hot enough. Make sure that your iron is set to the correct temperature and try again. If it still doesn’t work, you may need to clean the tip of your iron. You can do this by wiping it with a damp sponge or using a brass brush.
4) Solder stick to the joint
If you’re having trouble getting the solder to stick to the joint, likely, the surface is not clean enough. Make sure that you’ve cleaned the area around the joint with alcohol or another solvent. You may also need to roughen up the surface of the metal with sandpaper.
How to clean up a soldering mess?
If you’ve made a mess while soldering, don’t worry – it’s easy to clean up!
- First, using a damp cloth or sponge, wipe away any excess solder.
- Then, using a soldering iron, heat the area where the mess is and carefully wipe it away with a clean cloth.
- If there are any stubborn pieces of solder, you can use a wire brush or sandpaper to remove them.
Once you’ve cleaned up the area, you can apply a new layer of solder if necessary.
FAQs – Can you solder copper?
Can you solder copper with a soldering iron?
Yes, you can solder copper with a soldering iron. However, it is important to choose the right type of soldering iron and use the correct techniques to avoid damaging the copper.
If you are new to soldering, it is advisable to practice on some scrap copper before attempting to solder your final project.
Can a solder melt copper?
Yes, a solder can melt copper. Soldering is a common way to join copper pipes and other copper components. The heat of the solder melts the metal and the two pieces of metal bind together when they cool.
Copper has a high melting point, so you need to use a solder with a high melting point as well.
Are soldering pipes going to be illegal?
With the recent news that the European Union is planning to ban several hazardous chemicals, including lead, it’s possible that soldering pipes could become illegal shortly. While there’s no word yet on when or if this ban will be put into effect, it’s something that plumbers and those in the piping industry should be aware of.
If lead is eventually banned from solder, it could mean big changes in the way pipes are installed and repaired.
So far, there’s no word on what might replace lead solder if it is banned. However, there are several options available that could be used instead. One option is to use lead-free solder, which
is already available on the market. Another possibility is to use alternative materials altogether, such as copper or stainless steel.
Can I solder copper without flux?
Yes, you can solder copper without flux, but it is not recommended. Flux helps to prevent oxidation of the metals being joined and it also promotes the flow of solder. Without flux, soldering can be more difficult and the joint may not be as strong.
Final Words
If you’re considering a career in welding, copper soldering is a great place to start. First of all, always use lead-free solder. It is also important to make sure that your work surface is clean and free of oils or other contaminants.
Finally, it is helpful to use a flux pen when soldering copper as this will help the solder adhere better. If you’re looking for an easy way to solder copper, a propane torch is the best option. By following the above tips, you can learn how to solder copper like a pro!


